Why it’s important to replace old comb
One way in which beekeepers can keep their bees healthy is to ensure that the colonies brood comb is changed regularly. Over a period of time the levels of pesticides, bacteria and other pathogens can build up within the comb to the point at which it can threaten the viability of the colony.
Therefore it’s important to regularly change your brood comb at least every three years to keep your colonies clean and healthy. However, it’s difficult to remember the age of each individual brood comb frame over time and so a good idea is to mark one end of each frame with a blob of the same paint used to mark that years Queens. This is the current colour sequence that repeats every five years.
2013 – Red
2014 – Green
2015 – Blue
2016 – White
2017 – Yellow
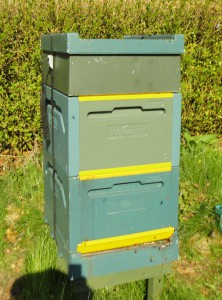
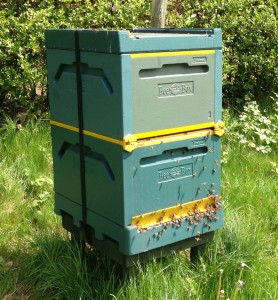
In the Fleet BKA training apiary, the hives are all new and therefore almost all the frames are marked with green blobs and probably won’t need changing until 2016/17 when they will taken out, sterilised and reused marked with the correct colour. Putting the colour on one end only also ensures that all the frames in the hive go back the right way round!
The Bailey Comb Change process
Assuming that the colony is still relatively healthy, the best and least disruptive method of changing combs is a Bailey comb change. This simply requires an additional brood box of the same size as the original complete with a full suite of frames containing foundation and a feeder with sugar syrup.
This process can only take place when the average day temperature is above 12-15C as the bees need to raise the temperature inside the hive high enough to enable wax to be manipulated by the bees. Assuming the weather is suitable, you simply lift off and remove the super and Queen excluder (shaking any bees back into the brood box) and place the new brood box with frames of foundation on top of the existing brood box. Unless there is a big inbound flow of nectar, its probably a very good idea to feed the bees with a sugar syrup solution so that they have a ready access of food from which they can generate the large quantities of wax needed to replace an entire brood box full of new comb. We typically use large top feeders holding up to 10l of syrup at a time placed on top of the new brood box.

Leave the bees alone and after a few days you should start to see the sugar syrup levels fall within the feeder that lets you know that the bees are feeding and probably building comb. After about ten days or so have a quick peek in the top of the hive to see if the bees have started to create areas of fresh comb, probably on one or two frames to begin with. It’s highly likely that the Queen will soon come up into the new comb to start laying eggs in the fresh cells – A quick visual check will confirm this.
Once the bees are building full-depth comb across more than one frame you need to ensure that the Queen is either already in the top brood box or move her there yourself and once this is done insert a Queen excluder between the top and bottom brood boxes. This will ensure the Queen stays up with the new comb and once she has started raising brood the nurse bees will transfer up to look after her and the new eggs that she is laying.

After three weeks or so all the larvae in the old brood box will have hatched and the bottom box can be taken away once any remaining bees have been shaken off the frames into the new brood chamber. The old combs will need to be disposed of and the frames and old brood box sterilised before they can be reused.
The Bailey comb change process really works well and whilst it can’t make a huge difference in the case of Varroa, it for almost all other pathogens and pesticide residue build-up, it ensures the colonies continued survival.